


Price: $8.99
(as of Apr 08, 2025 05:37:42 UTC - Details)
The Best Way to Apply Press On Nails: A Comprehensive Guide
Introduction
Are you tired of spending hours at the nail salon or struggling to maintain your manicure? Look no further! Press-on nails are the perfect solution for anyone looking to achieve salon-quality nails in the comfort of their own home. In this article, we will explore the best way to apply press-on nails, providing you with practical tips and tricks to ensure a flawless application. From choosing the right nails to prepping your natural nails, we’ve got you covered. Let’s dive in!
Choosing the Right Press-On Nails
Finding Your Perfect Fit
When it comes to press-on nails, one size does not fit all. To ensure a comfortable and secure fit, it’s crucial to select the right size for your nail beds. Most press-on nail sets come with various sizes, so you can mix and match to find the perfect fit. Take the time to measure your nails and choose accordingly.
Exploring Different Styles
Press-on nails come in a wide range of styles, colors, and designs. Whether you prefer classic French tips, bold colors, or intricate patterns, there’s something for everyone. Consider your personal style and the occasion when selecting your nails. If you’re unsure, opt for a versatile set that can be dressed up or down.
Preparing Your Natural Nails
Cleaning Your Nails
Before applying your press-on nails, it’s essential to clean your natural nails thoroughly. Start by removing any old nail polish and washing your hands with soap and water. This step ensures that no oils or residue interfere with the adhesion of the press-on nails.
Buffing for Better Adhesion
To enhance the bond between your natural nails and the press-ons, buff the surface of your nails lightly. Use a fine-grit nail file to gently roughen the surface. This creates a better grip for the adhesive, ensuring that your press-on nails stay in place for a longer time.
Applying Press-On Nails
Using the Right Adhesive
When it comes to applying press-on nails, the adhesive you choose can make all the difference. Some kits come with pre-applied adhesive, while others require you to use a separate glue. If you’re using glue, opt for a nail glue that is specifically designed for press-on nails. This type of glue provides a strong hold without damaging your natural nails.
Step-by-Step Application Process
- Select Your Nails: Choose the press-on nails that fit your natural nails best.
- Apply Adhesive: If using glue, apply a small amount to your natural nail and the press-on nail.
- Press and Hold: Align the press-on nail with your natural nail and press down firmly for about 10-15 seconds to ensure it adheres well.
- Repeat: Continue this process for all your nails, taking your time to ensure each one is applied correctly.
Maintaining Your Press-On Nails
Avoiding Damage
Once your press-on nails are in place, it’s important to treat them with care. Avoid using your nails as tools, and be gentle when performing tasks. This will help prevent any lifting or damage to the press-ons.
Keeping Them Clean
Just like your natural nails, press-on nails need regular cleaning. Use a gentle soap and water solution to keep them looking fresh. Avoid harsh chemicals that can weaken the adhesive or damage the nails.
Removing Press-On Nails
Gentle Removal Techniques
When it’s time to remove your press-on nails, it’s essential to do so gently to avoid damaging your natural nails. Soak your nails in warm, soapy water for about 10-15 minutes to loosen the adhesive. You can then gently lift the press-on nails from the sides using a wooden stick or your fingers.
Aftercare for Natural Nails
After removing your press-on nails, take a moment to care for your natural nails. Clean them thoroughly and apply a nourishing cuticle oil or moisturizer to keep them healthy and hydrated.
Conclusion
In summary, applying press-on nails can be a simple and enjoyable process when done correctly. By choosing the right nails, preparing your natural nails, and following the proper application steps, you can achieve beautiful results. Remember to maintain your nails and remove them gently to keep your natural nails healthy. With these tips in mind, you’re now ready to embrace the world of press-on nails with confidence! Happy manicuring!
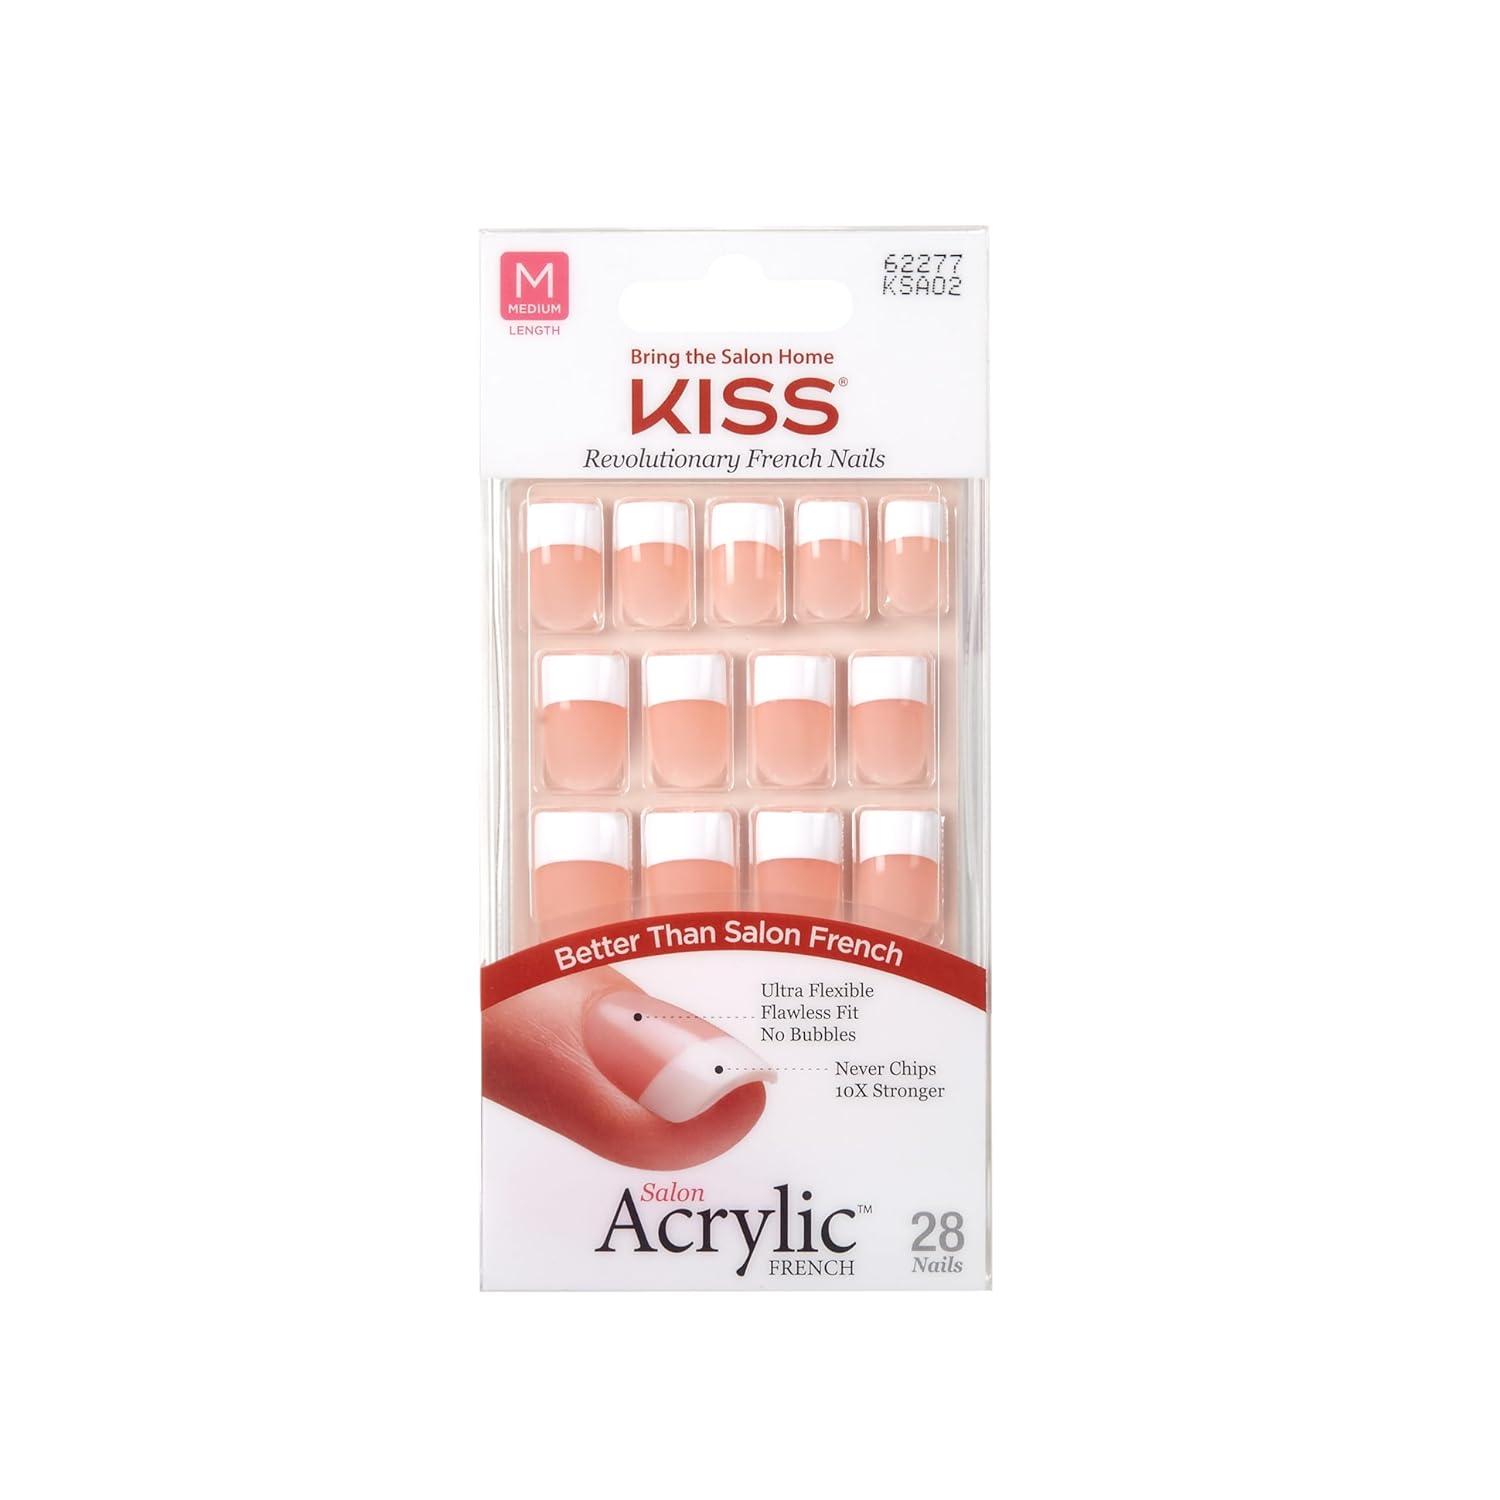
Better Than Salon French: Inspired by custom salon acrylic, these false nails glue on in minutes and wear for up to a week; Acrylic Infused Technology makes them chip-free, bubble-free, and super durable; Thinner at the cuticle for a seamless look
Durable Strength, Comfortable Wear: Snug fit at cuticle is 25% thinner than other brands; Flexible fit at the nail bed delivers lasting comfort; Acrylic strength nail tip is 10x stronger than other at-home nail brands; Won't damage your natural nails
Long Lasting, Easy Application: These nails are waterproof with a smudge-free finish that stays perfect after application that takes minutes; Flexible nails fit right and last longer; Kit contains 28 fake nails, pink nail glue, mini file, manicure stick
DIY Nails That Wow: With French designs, salon dip, acrylic nails, gel manicures, glue-on nails, press-on manicures and more, KISS has got you covered in the hottest colors, shapes, lengths, finishes, and custom art; Save yourself a trip to the salon
Be Kiss Confident: We're a global leader in professional quality beauty products and treatments, with iconic brands sold in over 100 countries; We empower beauty enthusiasts to “Bring the Salon Home"